

Are you looking to replace or install a new roof over your head? If yes, consider metal roofing.
Metal roofs can withstand adverse weather conditions, such as high winds, hail, snow, and heavy rain. Also, metal roofs are resistant to rot, mildew and insect damage allowing them to last decades.
In addition, metal roofs are relatively lightweight and reduce stress on the load-bearing roof support structure of the building. If you live in an area with frequent wildfires or want to improve your home’s fire safety, a metal roof can be ideal since it uses non-combustible materials and has an excellent fire resistance rating.
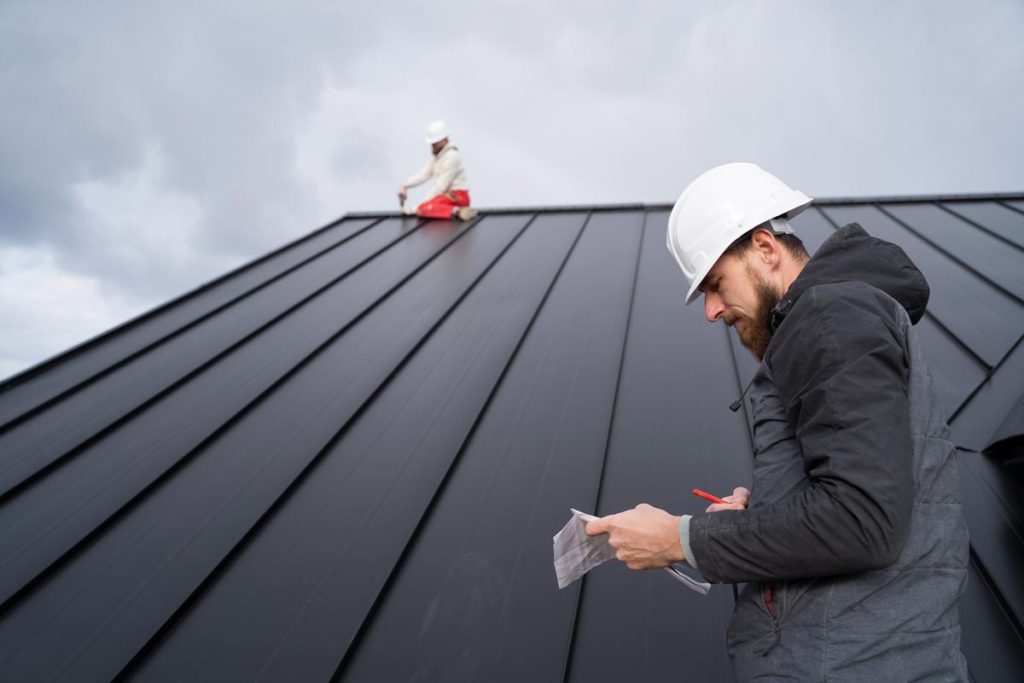
But to enjoy all the benefits of a metal roof, you need to hire an expert roofer. This professional ensures the metal roof installation is high-quality, efficient, and safe. Keep reading to learn how a roofer will install your metal roof.
Get Necessary Permits
Local authorities in your area may offer permits to confirm that your planned installation meets specific safety standards. Without proper permits, you can face legal consequences, such as fines.
Check with your local building department or relevant authority. They will provide information on the specific requirements and documentation. You may have to submit plans of your proposed installation and any other required documents for review and approval.
Take Measurements
A roofing expert has the right tools and expertise for taking measurements of your roof., They will determine the rise, width, and run of each section. The common practice is to start with the longest side and note measurements carefully. Then a roofing technician can use the rise and run measurements to calculate the slope factor and adjust for pitch.
If a section has protrusions or unique shapes, they make appropriate adjustments for accurate estimations. After they determine the area of all sections, they add them up to find the total area of metal roofing needed for the entire project.
Since waste is inevitable during installation, an experienced roofer will add some leeway to the total calculated area. This final figure is the total amount of metal roofing material that can cover the roof adequately.
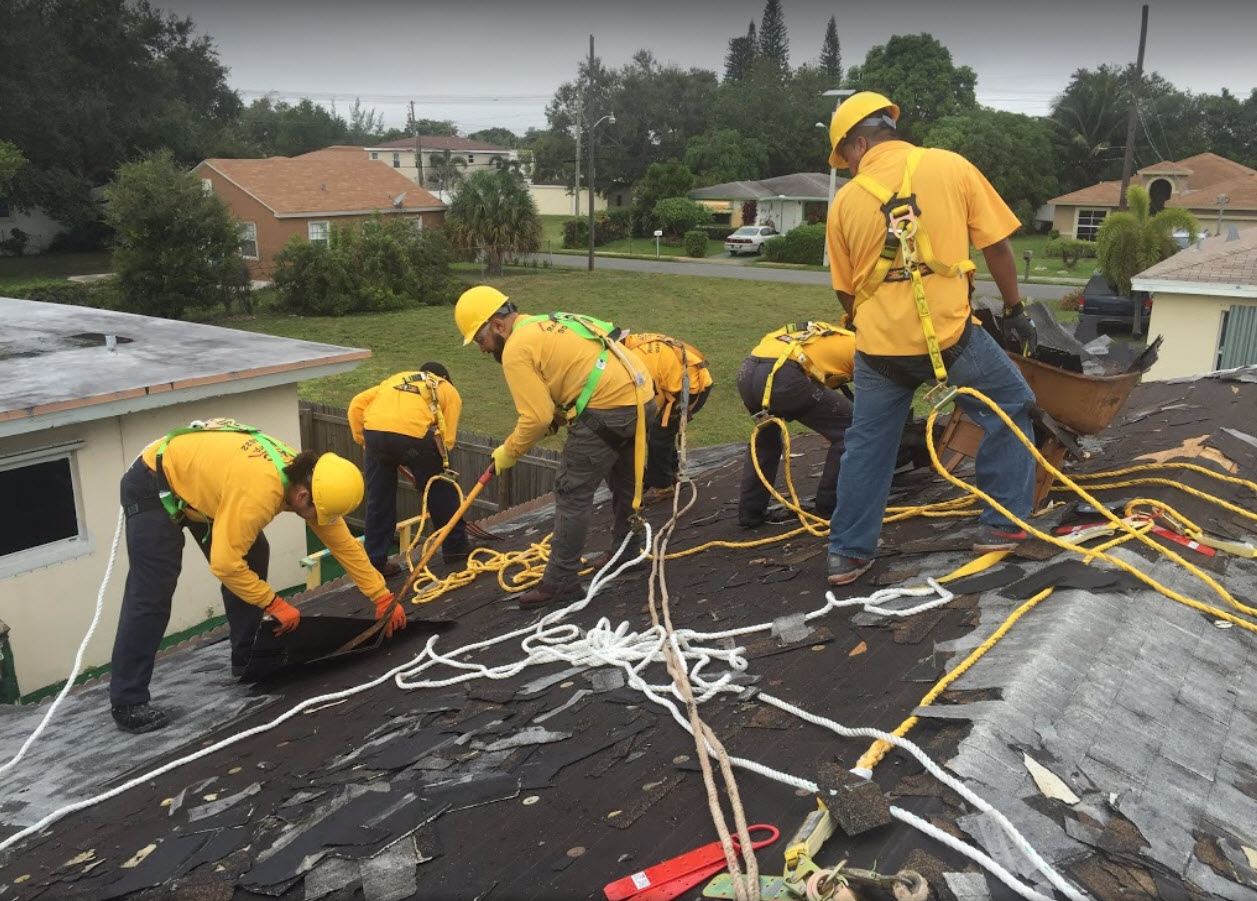
Remove Existing Roof
When replacing an existing roof, a qualified roofer will disconnect any utilities like electrical wiring or satellite dishes, before proceeding with the metal roof installation. Every effort is made to protect your home and property before the replacement begins. Once the existing roof has been removed, the waste products and trash are disposed of, ensuring clean, safe prep work for the next step.
Remember to remove all debris from the site and dispose of it in the appropriate waste containers.
Repair Any Damage
Removing the top layer of the roof will expose the underlying roof structure. The roofer will check whether the exposed roof frame or plywood shows signs of damage such as rot and water damage.
I If there are any damaged sections, they’ll be removed and replaced. The replacement piece should fit perfectly into the space to prevent leakages. The roofer will also check for any gaps or cracks that could allow water or pests to enter. They will seal these gaps using caulk or expanding foam insulation to prevent further damage.
Your roofing expert will also inspect the insulation and ventilation for any damage caused by water or pests during this step.
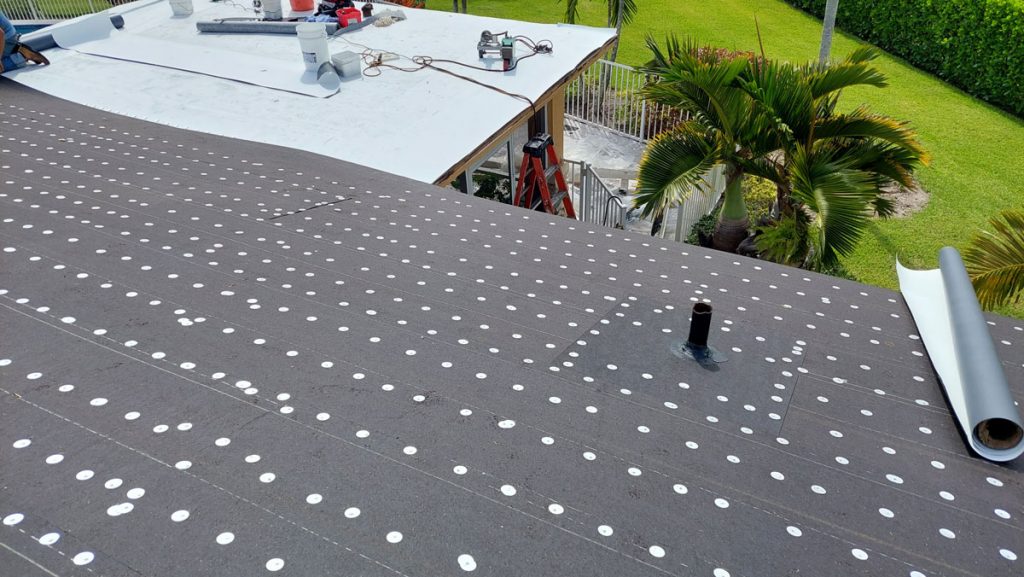
Place the Moisture Barrier
Once the old roof has been removed and any damage is repaired, it’s time for the moisture barrier. For new roof installations, the moisture barrier is the first step once the framework is completed. The team will select the appropriate roofing underlayment as a moisture barrier beneath the metal roofing. They will then:
- Lay the moisture barrier at the eaves (bottom edge) of the roof.
- Roll out the material horizontally along the length of the roof while keeping it straight and flat.
- Use roofing staples or nails to secure the moisture barrier to the roof sheathing.
- Trim any excess moisture barrier material along the edges of the roof using a utility knife or scissors.
Then any wrinkles or bubbles will be smoothed out to guarantee a tight, flat surface.
Install Drip Edge and Lock Strips
The drip edge directs water away from the fascia to protect the roof deck and structure. It also improves the roof’s appearance and protects edges from wind uplift and ice dams.
Before the roofer begins the installation, they clean the roof deck. Next, they install the drip edge along the eaves and secure the drip edge with nails or screws. Then, the contractor installs lock strips along the roof edges as per the manufacturer’s instructions.
The roofer uses the right fasteners to secure metal roofing panels to the deck. Finally, they fold panel edges over lock strips for a finished look.
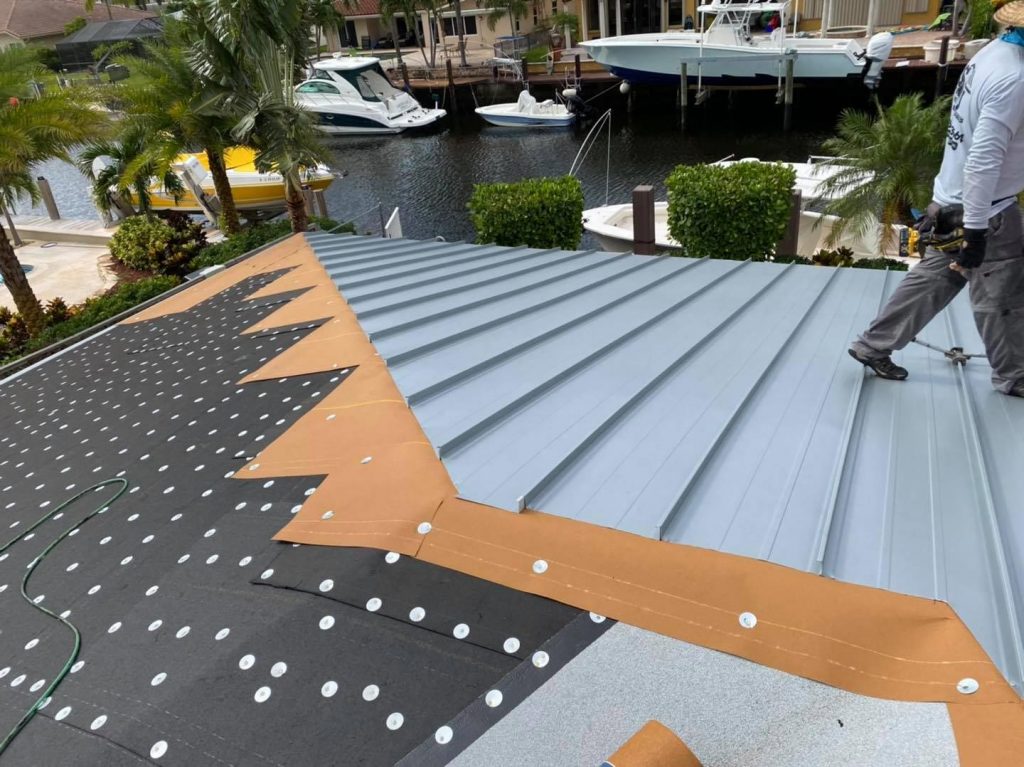
Install the Standing Seam Metal Panels
Next, the roofing team cuts the standing seam metal panels to size using tin snips or a metal cutting saw. They will account for any overhang at the eaves and gables. The roofer installs a starter strip along the eaves of the roof. The strip will act as a strong base for the first row of panels.
After that, installation follows these steps:
- Place the first metal panel at one end of the roof and use clamps or temporary fasteners to hold it in place.
- Install panels along the length of the roof and ensure each panel overlaps with the previous one. Most standing seam panels have interlocking seams that snap or fold together.
- Trim panels to fit around obstacles such as vents, chimneys, or skylights.
After covering the main roof, a metal roofing contractor installs ridge and hip panels at the peak and hips of the roof.
Install the Ridge Cap
A ridge cap helps to direct water away from the roof. The expert will:
- Get a ridge cap that matches the material, color, and profile of your metal panels.
- Use the measurements from above to cut the ridge cap to the appropriate length.
- Place the ridge cap over the ridge of your roof so that it aligns with the metal panels on either side.
- Use screws or nails to secure the ridge cap in place.
The fasteners should penetrate both the cap and the underlying roof structure. Another option is to apply a bead of sealant along the edges of the ridge cap to provide additional weatherproofing and prevent water infiltration. After installation, the roofer confirms that the ridge cap is secure and aligns with the rest of the roof.
Install the Flashing
Flashing is a metal trim that seals joints where different sections meet in the roof. The material is often present in valleys and the tops of meeting sections.
The roofer cuts the flashing at the correct angle to fit the joints. In valleys, the flashing is cut to match the angle of the valley. In some cases, they may need to bend the flashing into a ‘V’ shape to fit over the top of a section or ridge of the roof. The bend is necessary for a tight fitting and effective water flow.
If the flashing is too narrow, the contractor can use one or two rows of screws to secure it in place.
Choose ABC Roofing for Quality Metal Roof Installation
If you’re in the Tri-Coumty area of South Florida and need roofing services, ABC Roofing has you covered. We’re a reputable roofing contractor with over 30 years of experience installing, replacing, repairing and maintaining shingle, tile and metal roofing.
Contact us today for all your residential and commercial roofing needs.