South Florida is a beautiful place with wonderful weather, but the sun, wind, and rain can be destructive to your home. If you’re a homeowner or business owner in the Sunshine State, you understand the importance of having a sturdy and reliable roof to shield your property from unpredictable weather. Whether it’s intense sunshine, heavy rain, or the occasional hurricane, your roof is crucial in keeping your home or business safe and secure.
In this article, we’ll explore the essential steps required to replace a roof, ensuring that you make informed decisions to protect your investment.

Step 1: Roof Inspection
Before diving into the roof replacement process, conducting a thorough roof inspection is essential. This can be done by a professional roofing contractor who is familiar with the unique challenges posed by South Florida’s climate.
The inspection will identify any existing issues, such as leaks, damaged shingles, or structural concerns. It can often be the case that property owners are not aware of the state of underlayment of their roofs. Issues with underlayment will result in leaks and uplift issues further down the road. This step provides a solid foundation for planning the replacement and allows you to address potential problems before they escalate.
Step 2: Choose The Right Roofing Material
In South Florida, where high temperatures and occasional storms are the norm, choosing the right roofing material is essential. Due to the region’s weather conditions, options such as concrete tiles, metal roofing, and asphalt shingles are safe choices. Consult with your roofing contractor to determine the best material for your specific needs and aesthetic preferences.
At this point, you should also take cost into account, as not all roofing material options cost the same. Standing seam metal roofing will be on the more costly side of the pricing spectrum. If you’re looking to replace a roof on a budget, then asphalt shingles will be a better fit.
Step 3: Obtain Necessary Permits
Roof replacement projects typically require permits from local authorities. Before commencing any work, check with your municipality to ensure you have the necessary approvals. Working without the proper permits can lead to fines and complications down the line.
A reputable roofing contractor will guide you through the permit application process and ensure everything is in order before starting the project. For residents of Jupiter, Florida, you’ll be able to get the relevant permits from the Jupiter Building Department.

Step 4: Prepare The Site
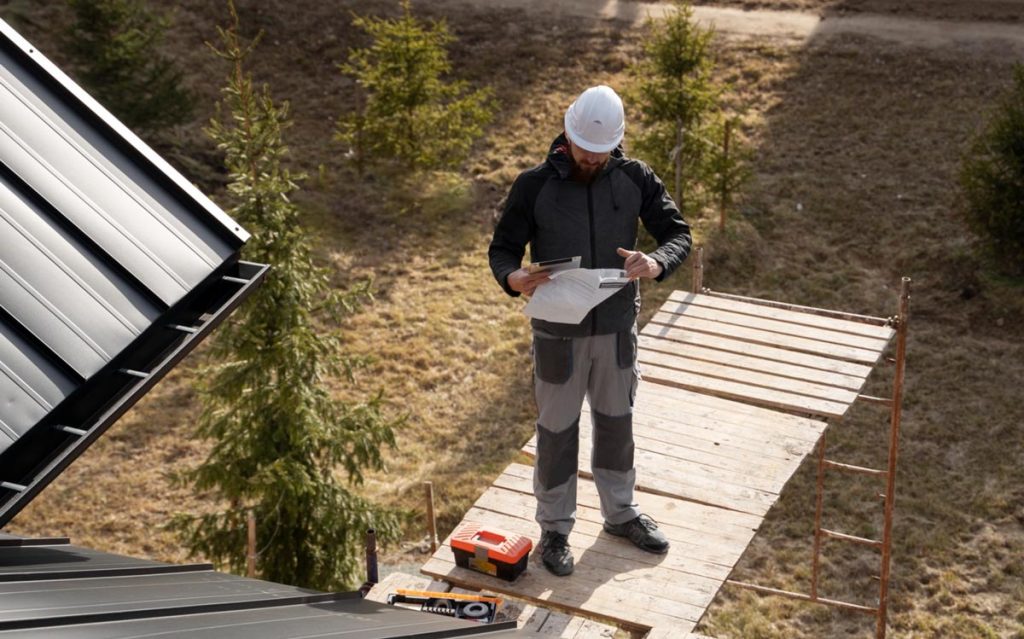
The roofing team will also take measures to secure safety, such as marking off the work area and informing residents or employees about the upcoming construction.
A reputable roofing contractor will begin by protecting the surrounding areas of your property. This involves covering landscaping, shrubs, and delicate features to shield them from potential debris and dust during the roof replacement. Moreover, any outdoor furniture, vehicles, or other items near the work zone are relocated to prevent damage.
Step 5: Remove Old Roofing Materials
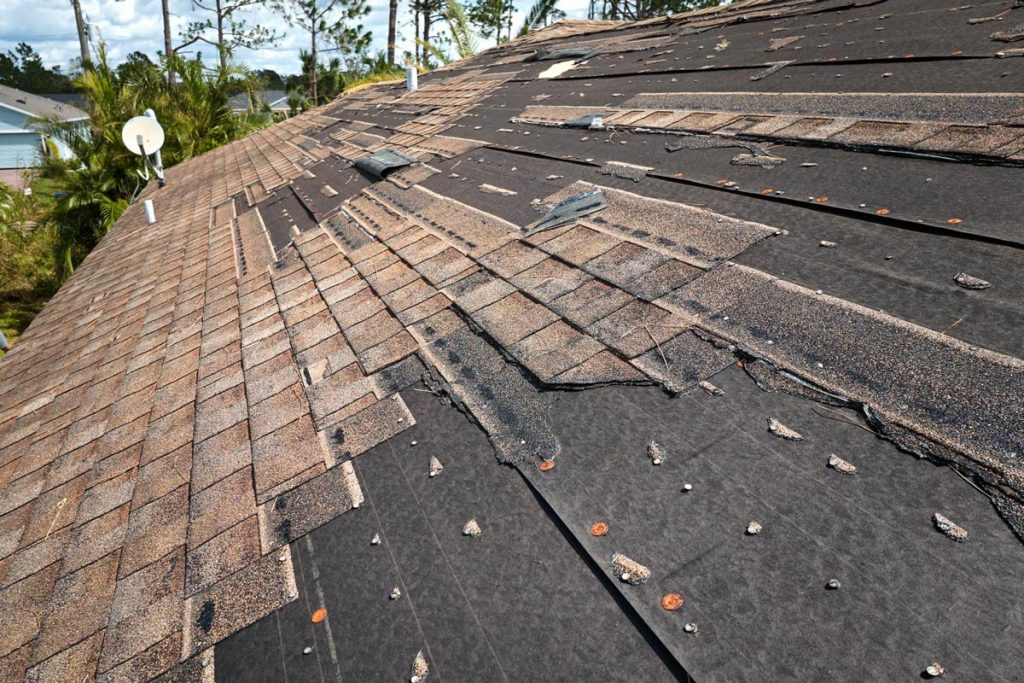
Once the inspections are complete and the permits are in place, it’s time to remove the old roofing materials. Removing the old materials is a critical step in preparing the roof for the installation of new, durable materials. This involves stripping away the existing shingles and underlayment. In South Florida, underlayment is critically important for wind uplift regulations, so replacing old with new is key.

Step 6: Repair Or Replace Decking
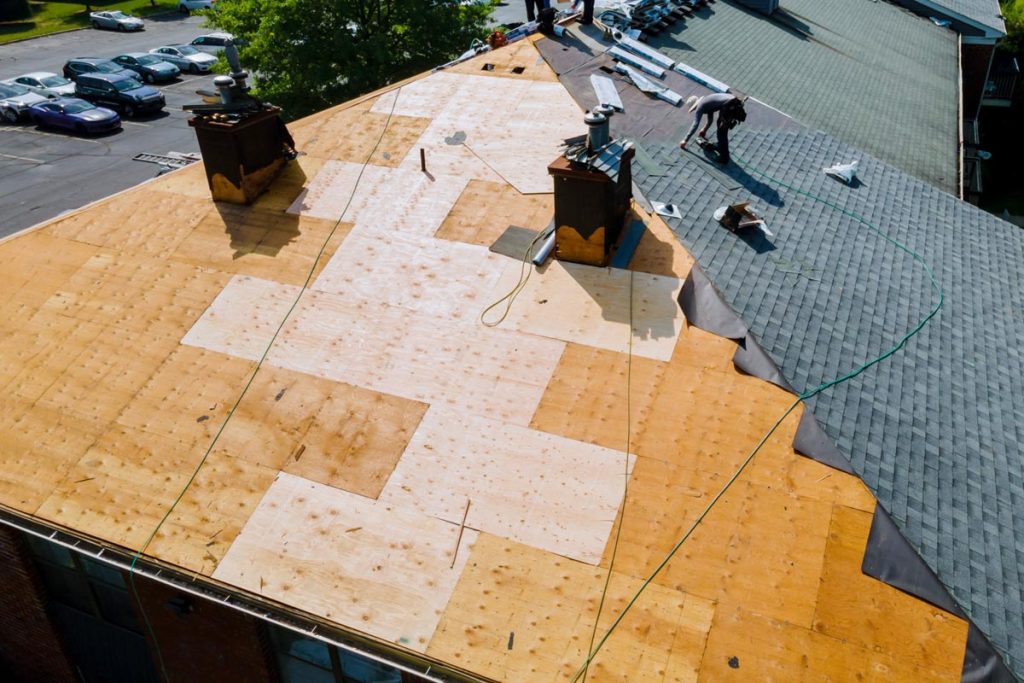
With the old materials removed, your contractor will assess the condition of the roof decking. They will identify any damaged or rotten sections by repairing or replacing them. Remember that any new underlayment, as well as shingles, will be attached to the decking, so it needs to be reliable. A solid deck is essential for the proper installation and longevity of your new roof.

Step 7: Install Underlayment And Flashing
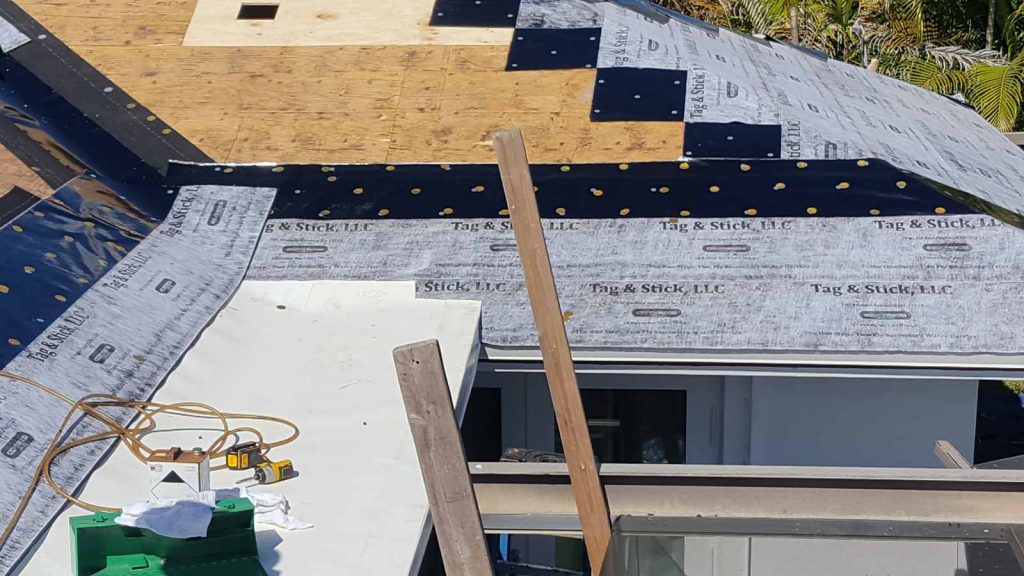
The next step in replacing a roof involves installing a high-quality underlayment: a crucial barrier that protects against water infiltration. As mentioned above, South Florida has some of the strictest wind uplift regulations. Due to this, the underlayment that you choose needs to be code-compliant.
